Automox Install MacOS Command Line
Automox installation requires admin level access to the machine. If every user has admin level access to the machine in your environment, they are able to install this product on their machine without the help of the IT team following these steps:

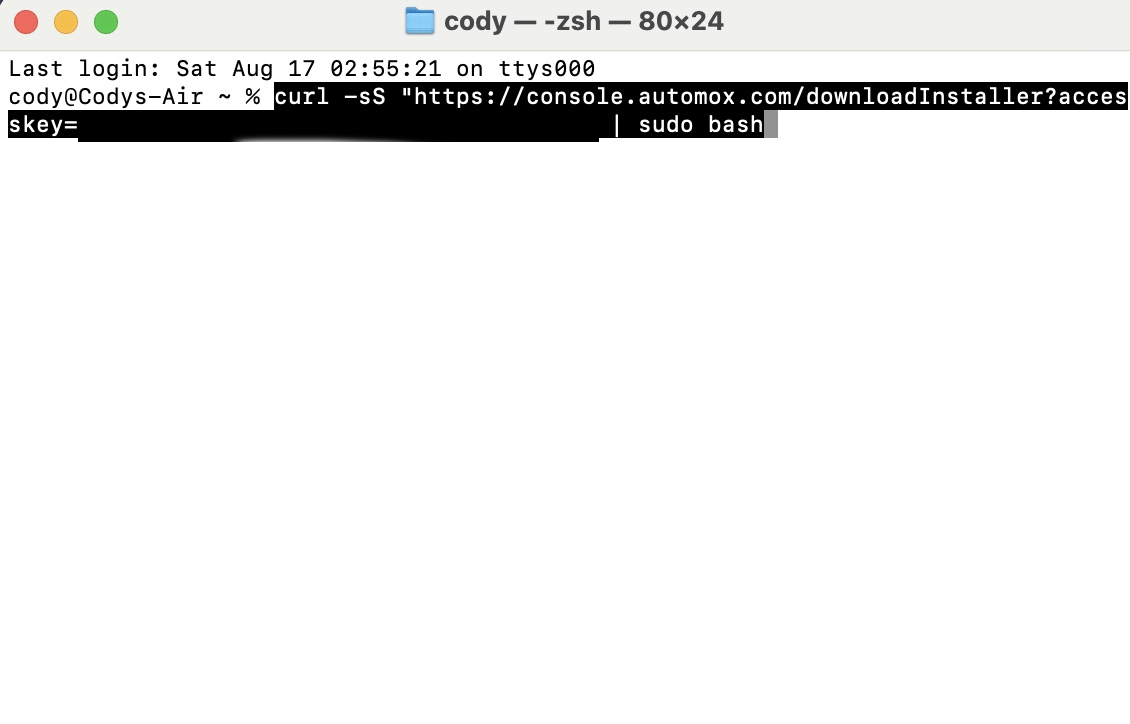
The Terminal window will look something like this in which we will copy and paste the command given:


First we are going to spot light search (command + space shortcut) and open terminal.
Press enter and you will be promoted to enter your password. You will type the password you use to login to the device(note as you type the interface will not update):

After the correct password is supplied the files will began downloading.
After the correct password is supplied the files will began downloading.
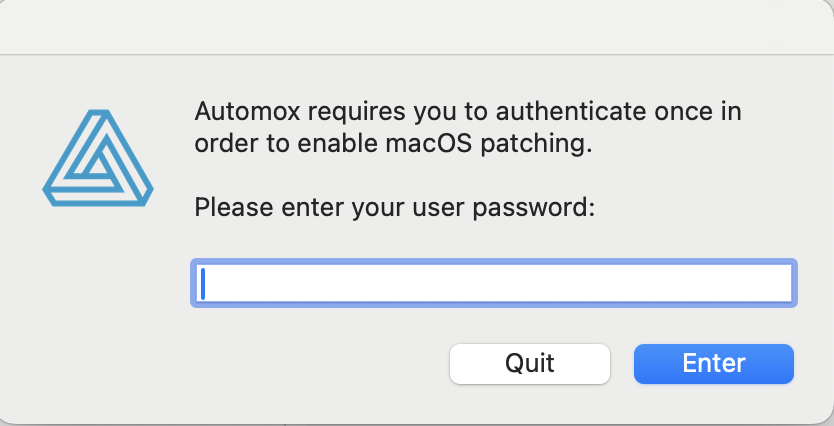
After the script is completed and it says install was success you are able to close out of the terminal window. On newer Mac devices Automox will prompt you (this is upon next scan normally when you first login the next day but could be very shortly after) to enter your password again in a pop up panel that looks like this:

After the password is entered in this box and you press enter, Automox is fully installed with the proper permissions.
Related Articles
Automox Install MacOS
This is the installation guide for the MacOS package of Automox. We will begin by downloading the agent from here https://console.automox.com/installers/AutomoxAgent-1.44.8.pkg. After the agent is download you can proceed to run the package installer ...